

|
Jun 9 2005, 04:18 PM
Michael,
I've cut tuners before too. If cut at a screw hole, you can use
a single screw to hold the cut ends down. Just depends upon how
those end screw holes line up with the middle holes when both
are cut. Shouldn't be any problem with as many screw holes as
there are to hold things together.
Those Alessi's are pretty. What's the knob wood? Snake wood?
That is one nice 10 string you are building. Top quality components.
Fun project.
Steve
Jun 10 2005, 04:17 PM
Hey Steve,
What you describe is what I plan to do. The Hauser tuners have
screw holes that line up so that I can pull this off. The only
thing I was somewhat concerned about was that the two cut ends
might want to spreat apart slightly because of the beveled screw
hole. But I guess as long as I don't cinch that screw down too
tightly it should work ok.
I believe the tuner buttons are made from palisander (Dalbergia
baronii). I visited Alessi's website and found a photo of a set
of Hauser-style tuners with the same wood. Palisander was listed
as one of the available button woods.
Best, Michael
Jun 10 2005, 07:15 PM
Michael,
You might take a look at using gold plated round head screws
on your tuners instead of the issue flat heads. That way, you
won't have the spread issue. I get my gold tuner screws from
StewMac. [I use them for my truss rod covers.]
Steve
Jun 10 2005, 08:08 PM
I have seen individual tuners for slotted peg heads-the had the
fat boy posts for classicals too-I beleive this was in a recent
S&M catalogue.
Cuttings okay as long as you can finish the metal so it matches
well
Be wary, cheaper ones may not allow this.
Jun 10 2005, 08:46 PM
Well, these are Schallers. Granted, not expensive tuners, but
far from being low quality, IMO.
I should be able to get reasonably smooth and straight cuts using
my milling machine.
Best, Michael
Jun 11 2005, 06:40 PM
These last few days, I've been working on guitar 8's neck. After
gluing down the fingerboard, I cut the nut slot using my mill.
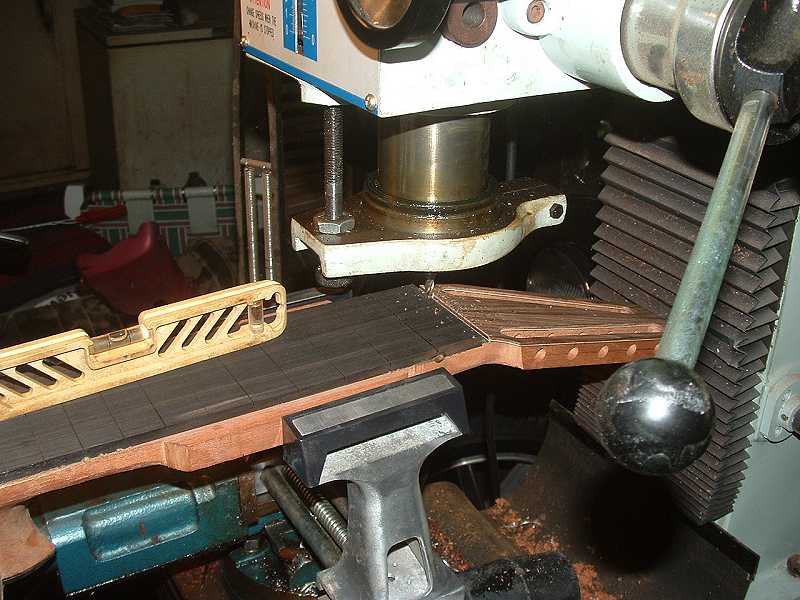
It might seem like overkill, but it helps me maintain perpendicularity.
Finally, after cutting the nut slot, I was able to lose the "wings"
on the neck, and get started contouring it.
I prefer to use a flat-bottomed spokeshave for the initial contouring,
then I switch to rasps and scrapers, then sandpaper. I find that
it doesn't take very long at all to establish the basic shape
I want. But it takes a lot more rasping and scraping and sanding
before I'm finally satisfied with the neck's feel.
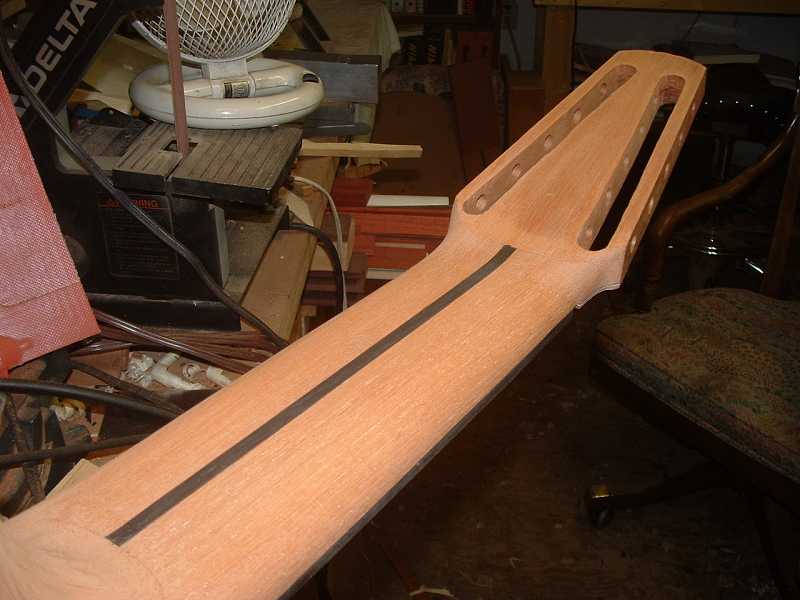
Many -- if not most -- 10-strings have a rather sharply beveled
fingerboard to allow for the movement of the low bass strings.
The following photo doesn't really show the bevel all that well,
but you'll note how shallow the fret slots are on the bass side.
I had to deepen them.
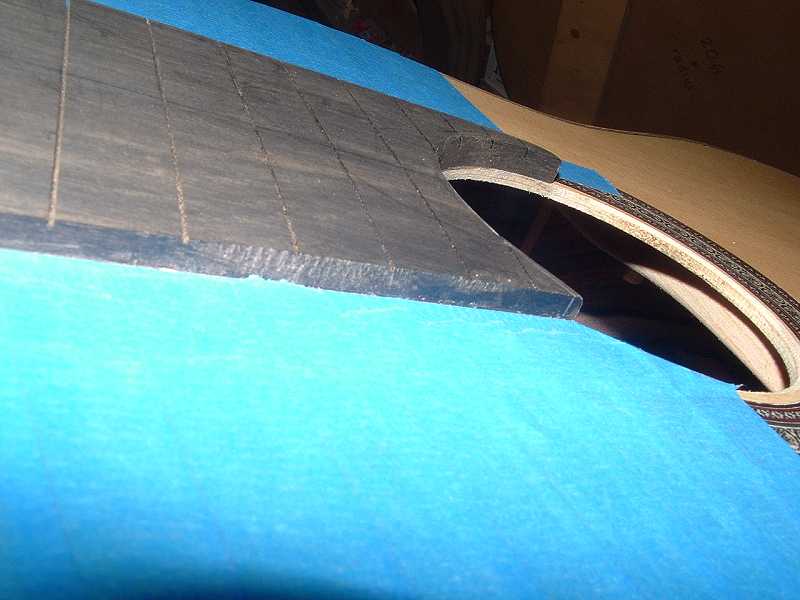
And here it is after installing the frets and contouring them.
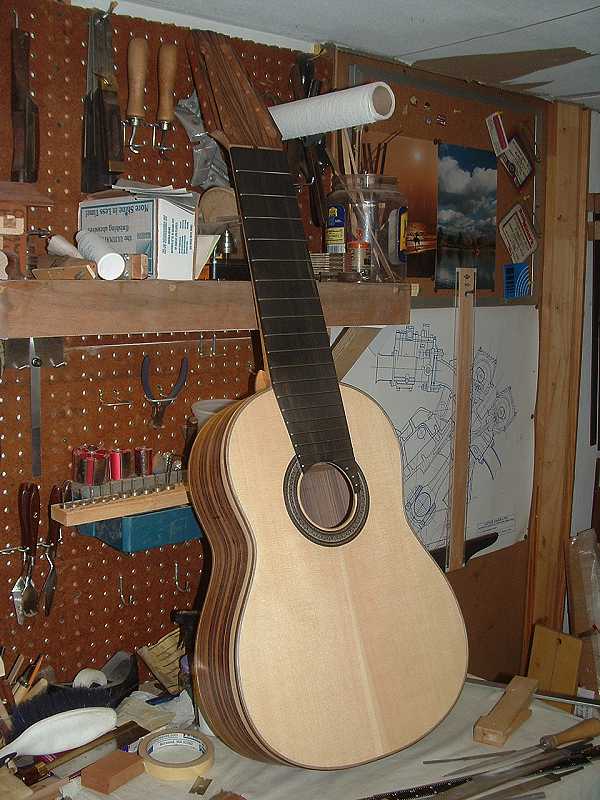
Next, more sanding.
Best, Michael
Jun 11 2005, 07:11 PM
Guitar 9 is coming along as well, albeit a bit more slowly. I
am following a set of Contreras plans for this guitar -- Stephen
is fond of Contreras guitars (hey, so am I). According to the
plan, Contreras contours his top in a rather distinctive fashion.
I decided perhaps the best way to contour guitar 9's top was
to shim my workboard, set the soundboard atop it, and run it
through the drum sander.
First, I sketched out the contour on the inside of the top, just
to get a basic feel for things.
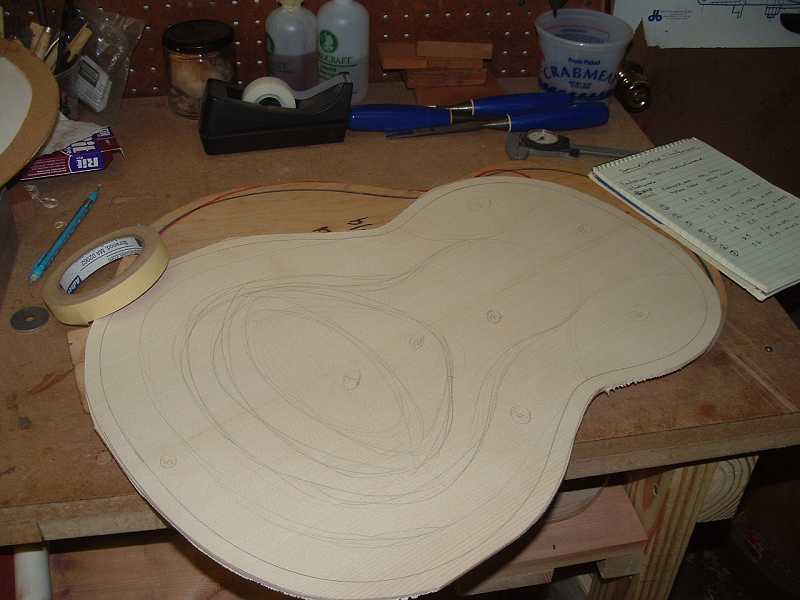
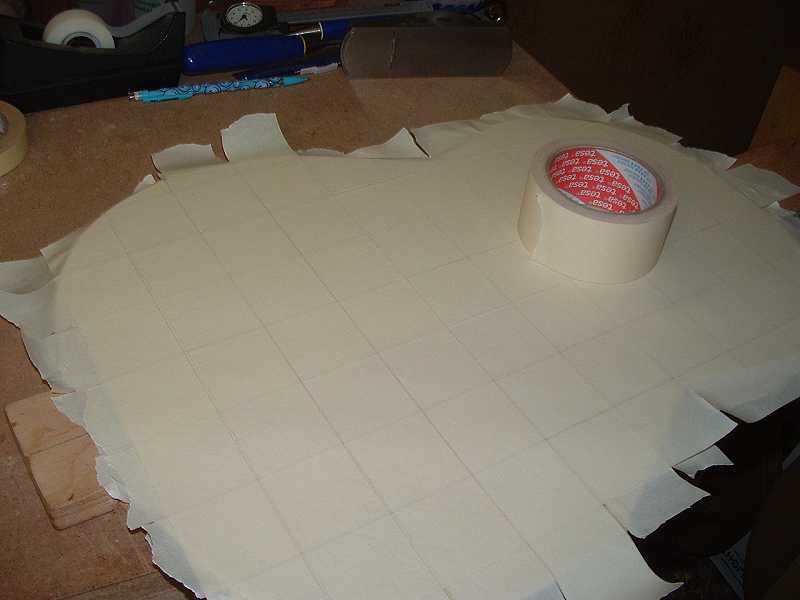
I laid five layers of masking tape down onto the work board.
I used some wide stuff I had sitting around, and alternated the
direction of the tape with each layer. Doing so comes in handy
when it comes time to start removing layers.
After removing the layers that need to be removed, my workboard
looks like this:
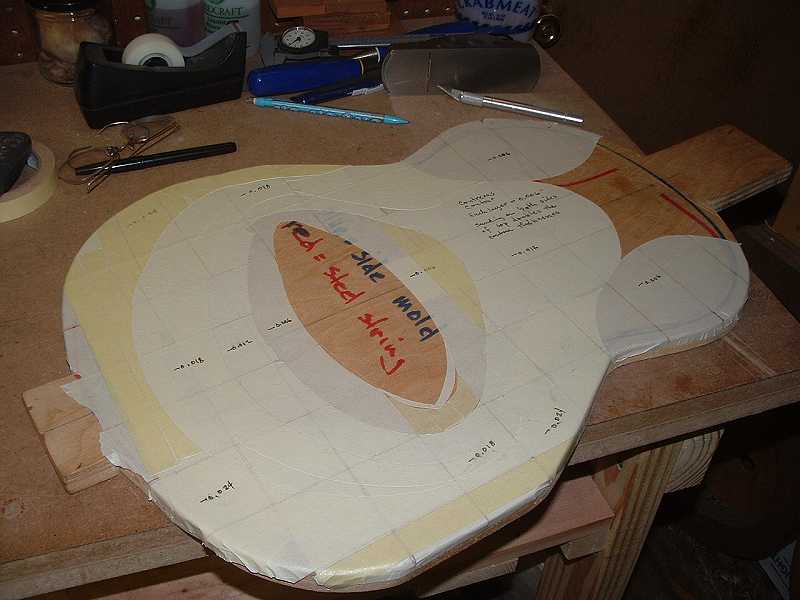
Since the contour is left-right symmetrical, I flipped the top
over after each pass through the drum sander.
Contreras curved his fan braces. I was able to curve these braces
pretty easily using my heating blanket and mold. He also scalloped
his tone bars. I find the bridge pad to be rather distinctive
as well.
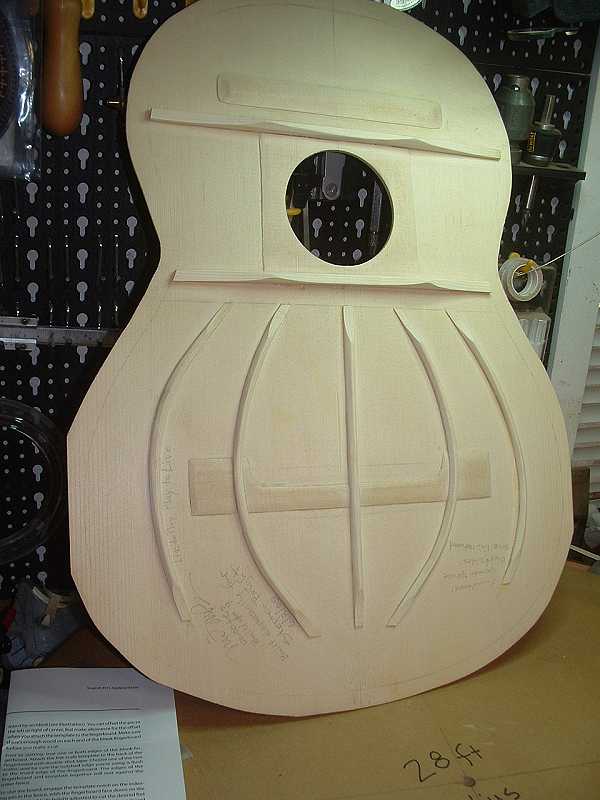
That's it for now.
Best, Michael
Jun 12 2005, 09:14 AM
Chris,
Are those fan braces cut into arches, or did you bend them?
Greg N
Jun 12 2005, 04:34 PM
Hi Greg,
I bent them using a heating blanket and mold. After bending them
I contoured them in my 28 ft. dish.
Best, Michael
Jun 13 2005, 12:02 AM
If you can bend those like that you should have not trouble with
the purfling -Couldn't you glue it to something maybe a bit wider
but like that and then trim it off?
Jun 14 2005, 05:46 PM
Wilf,
Hadn't thought of gluing the wide purfling to anything to help
bend it. That would keep the mosaic pieces from moving around,
which is where things go wrong when trying to bend it.
Best, Michael
Jun 14 2005, 06:06 PM
Wow, Michael - VERY cool - Now you have me paying attention to
Classicals! Well, that and just getting Sloan's book, I s'pose...
Eben
Jun 15 2005, 09:26 AM
I dont know if that would work just an idea--Perhaps a better
method might be :
In my present studies Rik Middleton uses a copy of the bend cut
out of modelers plywood. the curve is glued to a base. He presses
the purfling around it using a flatiron. He only does the bends
that will not force fit, like the waist. After popping out the
channel spacers he just glues them into the channel on the guitar.
Just in case...
To make the channel He takes small cuttings of purfling and acting
spacers glues them temporarily around the outside perimeter-installs
the bindings.
WB
NEXT PAGE / PAGE 1 / PAGE
2 / PAGE 3 / PAGE 4 / PAGE
5 / PAGE 6 / PAGE
7 / PAGE 8
Home / Articles
/ Gallery / Accessories
/ Builders / Composers
/ Guitarists / Movies
/ Sheet Music / Free
PDFs / Recordings / Teachers
/ Radio / Join
/ Contact Us
|
